Short answer: To bake banh mi rolls at home, make a soft, well-kneaded dough at about 66% hydration with all-purpose or light bread flour, a little sugar, oil and a crushed vitamin C tablet, then proof the shaped rolls until very puffy. Bake at 230°C (450°F) with plenty of steam for about 18–20 minutes. The recipe below makes 6 rolls, enough for 4 people with two spares, and uses no eggs, dairy or rice flour.
Before you start: what you need
Banh mi rolls are less demanding than artisan sourdough, but they reward precision. A digital kitchen scale is the single most useful tool, because a few grams of water change the dough noticeably. You also need a baking sheet, a sharp razor blade or serrated knife for scoring, a spray bottle, and a sturdy metal tray or cast-iron pan to hold boiling water for steam. Plan around 3 to 3.5 hours from mixing to cooling, most of it hands-off.
Flour matters more than any other ingredient. Choose an all-purpose flour with roughly 10.5–11.7% protein (most US, Canadian and Australian all-purpose flours fit), or mix half bread flour and half plain flour in the UK and Europe. Very strong bread flour gives a chewier, denser roll, which is the opposite of what we want. Vitamin C (ascorbic acid) is optional but helps a lot: it strengthens gluten so the dough stretches thin, which is the role commercial dough conditioners play in Vietnamese bakeries, according to cookbook author Andrea Nguyen.
The formula: baker's percentages and amounts
Baker's percentages express each ingredient as a share of the flour weight, which makes scaling easy. For 6 rolls you need 350 g flour; for 12, simply double everything.
| Ingredient | Baker's % | Grams (6 rolls) | Approx. US measure |
|---|---|---|---|
| All-purpose flour (10.5–11.7% protein) | 100% | 350 g | 2 3/4 cups, spooned and levelled |
| Water, lukewarm (about 30°C / 86°F) | 66% | 230 g | 3/4 cup + 3 tbsp + 1 tsp |
| Instant yeast | 1.5% | 5 g | 1 1/2 tsp |
| Fine salt | 1.8% | 6 g | 1 tsp |
| Sugar | 2% | 7 g | 1 3/4 tsp |
| Neutral oil (canola, sunflower) | 2% | 7 g | 1 1/2 tsp |
| Vitamin C, crushed (optional) | about 0.03% | 100 mg | one plain 100 mg tablet |
Total dough weight is about 605 g, giving 6 pieces of 100 g. If you use active dry yeast, use 6 g and dissolve it in the water first for 5 minutes. Use a plain vitamin C tablet without flavourings or added minerals, crushed to a fine powder between two spoons. In a dry climate or with very absorbent flour you may need 5–10 g more water; in humid weather, hold back 5–10 g.
Step by step
- Mix (5 minutes). Whisk the flour, yeast, sugar and vitamin C in a large bowl. Add the water and oil, stir to a shaggy mass, then add the salt and mix until no dry flour remains.
- Knead (10–12 minutes by hand, 6–8 in a stand mixer on medium-low). Knead until the dough is very smooth, slightly tacky but not sticky, and passes the windowpane test: a small piece stretches thin enough to see light through without tearing. Thorough kneading is what gives the fine, even, cottony crumb.
- Bulk rise (60–75 minutes). Cover and leave at a warm room temperature of 24–27°C (75–80°F) until doubled. In a cool kitchen, put the bowl in the oven with only the light switched on.
- Divide and pre-shape (10 minutes). Turn the dough out without flour, press out the gas, and divide into 6 pieces of about 100 g. Roll each into a tight ball, cover, and rest 15 minutes so the gluten relaxes.
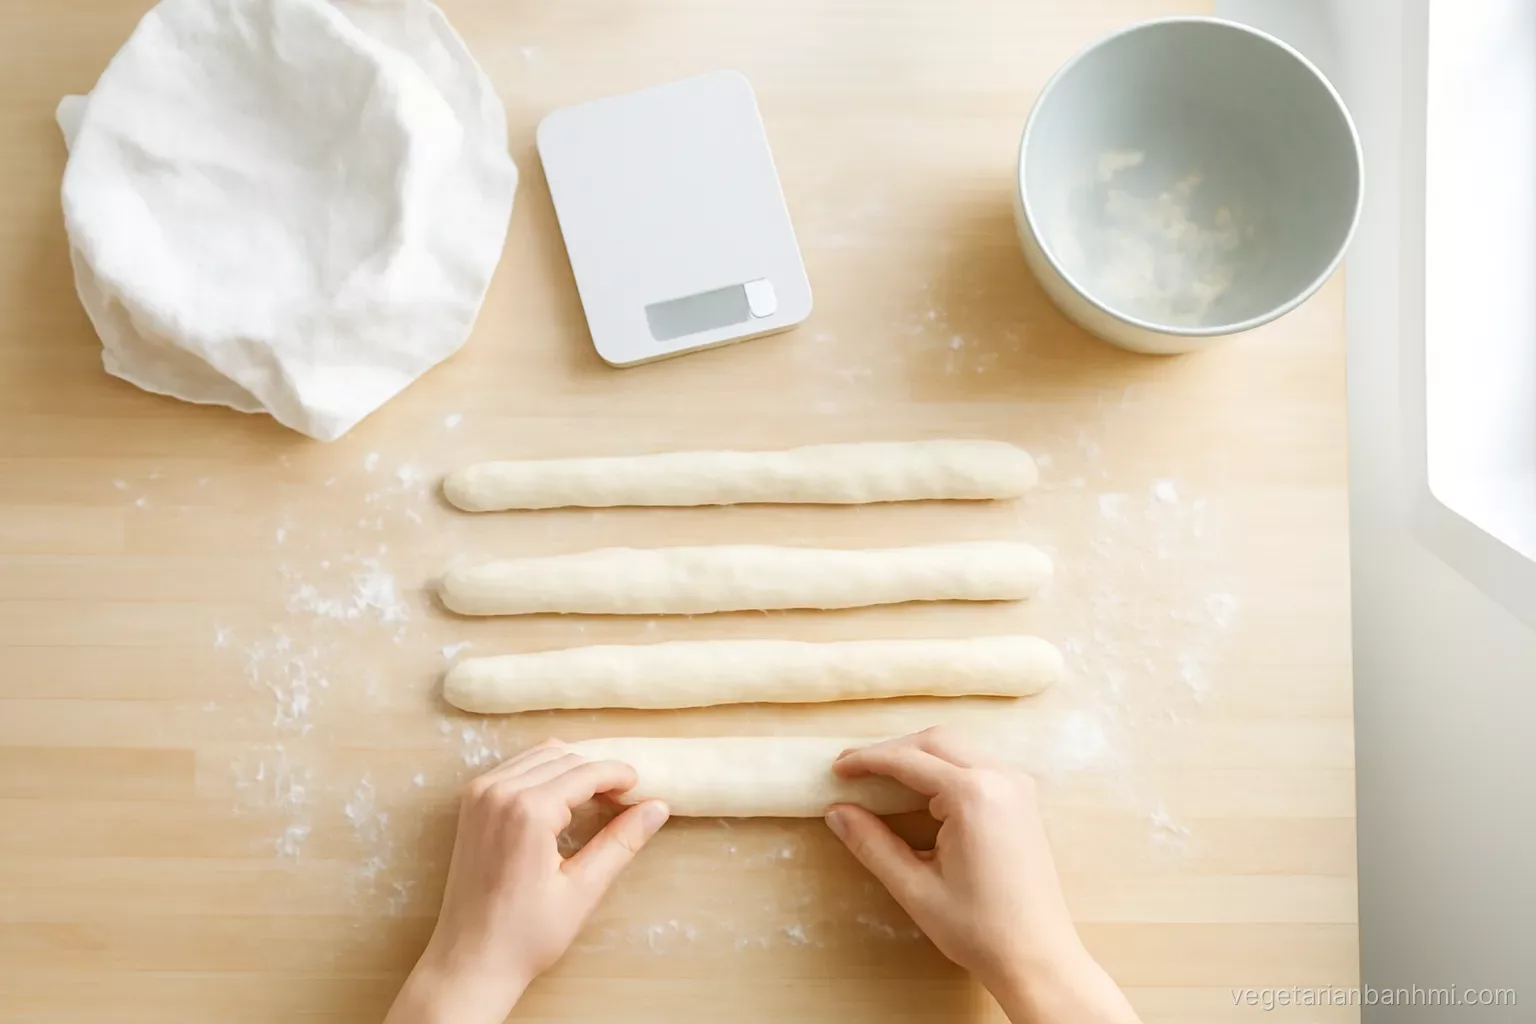
- Shape (10 minutes). Flatten a ball into an oval, fold the top third down and press, fold the bottom third up and press, then fold in half lengthwise and seal the seam firmly with the heel of your hand. Roll under your palms into a 20–22 cm (8–8.5 inch) baton, pressing harder at the ends to make tapered points. Place seam side down on a parchment-lined sheet, at least 6 cm apart.
- Final proof (45–75 minutes). Cover loosely with oiled plastic or a damp towel. The rolls are ready when they have grown to roughly two and a half times their shaped size, feel light and airy, and a gentle fingertip press springs back very slowly. This long proof is where the lightness comes from.
- Preheat with steam (start 45 minutes before baking). Put a rack in the middle and a metal tray or cast-iron pan on the lowest rack. Heat the oven to 240°C (465°F). Boil a kettle.
- Score (1 minute). Mist the rolls lightly with water. Holding the blade almost flat, at about 30 degrees, make one decisive cut along the length of each roll, about 5 mm deep, starting and ending 2 cm from the tips.
- Bake (18–20 minutes). Slide the rolls in, pour about 200 ml boiling water into the hot tray, and close the door quickly. Reduce to 230°C (450°F) and bake 8 minutes. Remove the steam tray carefully, rotate the sheet, and bake another 9–12 minutes at 220°C (425°F) until evenly golden with a deeper colour along the cut.
- Cool (at least 20 minutes). Transfer to a wire rack. You will hear the crust crackle as it cools; that is the sound you want. Cutting too soon makes the crumb gummy.
Getting steam right in a home oven
Professional deck ovens inject steam; home ovens vent it. Steam keeps the surface soft during the first minutes so the roll expands fully, then the crust sets thin and glossy. The boiling-water tray is the simplest method. For more steam, add a second smaller pan filled with a handful of ice cubes, or mist the oven walls three times in the first 2 minutes (avoid the light bulb and the glass door). A convection or fan setting dries the surface too fast in the steam phase, so use conventional heat for the first 8 minutes, then switch the fan on at 210°C (410°F) if you want more even colour.
A baking stone or steel preheated for 45 minutes gives stronger oven spring. If you use one, proof the rolls on parchment on an upside-down baking sheet and slide parchment and all onto the stone.
Troubleshooting your first batch
- Dense, tight crumb: under-proofed or under-kneaded. Extend the final proof by 15 minutes and knead to a full windowpane next time.
- Rolls flattened when scored: over-proofed. Score earlier, when a fingertip press springs back slowly rather than not at all.
- Thick, hard crust: oven too cool or bake too long. Check your oven with a thermometer; many run 10–20°C cool.
- Pale crust: not enough steam evaporation time or no sugar. Leave the last 4 minutes uncovered with the fan on.
- No ear or burst at the side: the cut was too vertical or too shallow, or the seam was not on the bottom. Keep the blade flat and confident.
We cover each of these in more detail in our dedicated troubleshooting article in The Bread section.
Making the schedule work for you
For fresh rolls at lunchtime, mix at 9 am and you will be cutting bread around 12:30. For a slower, more flavourful option, make the dough with cold water, let it rise 30 minutes at room temperature, then refrigerate it covered overnight for 10–14 hours. The next day, divide it cold, give the pre-shaped balls 30 minutes to warm up, and continue with shaping. Allow a slightly longer final proof, often 75–90 minutes.
Baked rolls freeze well. Cool completely, wrap each in foil, put them in a freezer bag, and freeze for up to a month. Reheat from frozen at 200°C (400°F) for 8–10 minutes. That way one baking session supplies several weeks of weekday sandwiches, and the tips in our meal prep and storage guides help you plan fillings around them.
From roll to sandwich
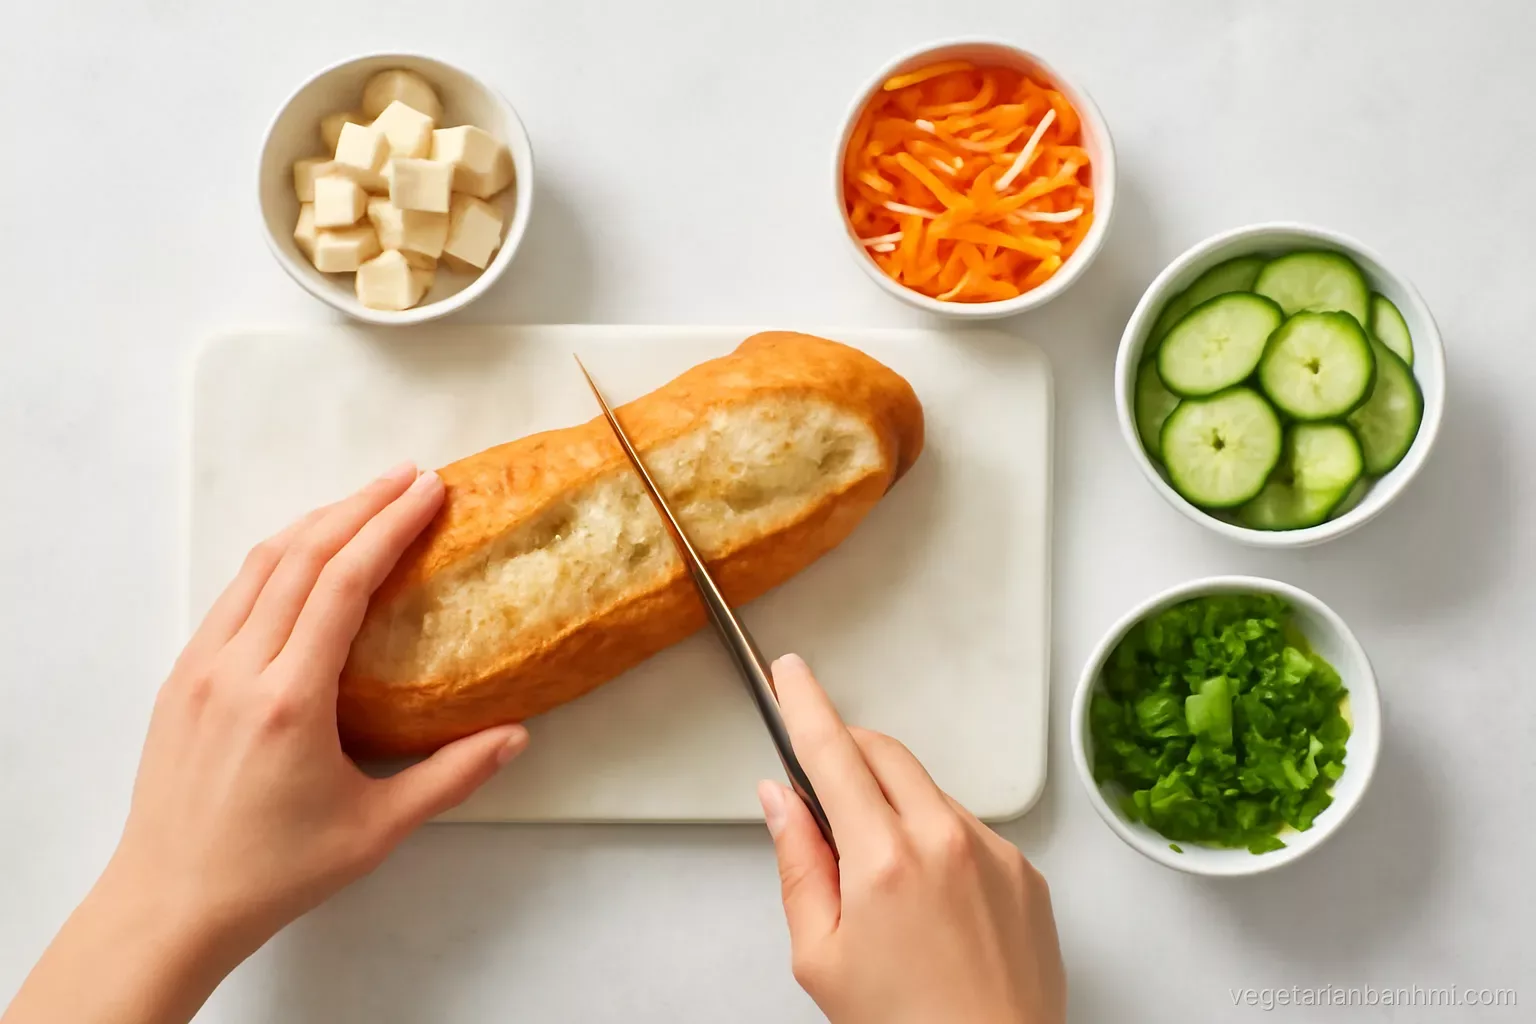
Once cool, split each roll along one side, leaving a hinge, and pull out a small amount of crumb from the top half to make room for fillings. Re-crisp for 3–4 minutes at 200°C (400°F) just before assembling. Spread vegan mayo on one side and a mushroom pâté or chili sauce on the other, then layer your protein, đồ chua (pickled carrot and daikon), cucumber spears, sliced chili and a generous bunch of ngò (cilantro). One 100 g piece of dough bakes into a roll of roughly 85–90 g, which with fillings makes a satisfying single serving.
Sources
- Viet World Kitchen (Andrea Nguyen) – vietworldkitchen.com, on dough conditioners and banh mi bread style
- King Arthur Baking – kingarthurbaking.com, guidance on flour protein, baker's percentages and steaming home ovens
- The Fresh Loaf – thefreshloaf.com, community testing of Vietnamese baguette formulas
Frequently asked questions
Can I make banh mi rolls with bread flour?
Yes, but strong bread flour makes a chewier roll. If bread flour is all you have, replace 25–30% of it with all-purpose or cake flour, or add 5 g extra water and let the final proof run a little longer.
Is the vitamin C really necessary?
No, the rolls work without it, but they will be slightly less tall and airy. Vitamin C strengthens the gluten so the dough holds more gas, imitating the dough conditioner many Vietnamese bakeries use. Use a plain 100 mg tablet, crushed finely.
How do I know when the final proof is done?
The rolls should look roughly two and a half times their shaped size, feel airy, and wobble slightly when you shake the tray. Press gently with a floured fingertip: if the dent fills back very slowly, bake now; if it does not fill at all, bake immediately and expect a flatter roll.
Can I make the dough in a bread machine?
Yes. Use the dough cycle for mixing, kneading and the first rise, then shape, proof and bake in the oven as described. A bread machine cannot give the high heat and steam needed for the thin crackly crust.
How long do homemade banh mi rolls stay fresh?
They are best within 6 hours. After that they soften but can be re-crisped at 200°C (400°F) for 3–5 minutes for up to 2 days if kept in a paper bag. For longer storage, freeze them wrapped for up to a month.
Bake the Bread, Then Compare Notes
With this recipe you can have warm, crackly rolls on your own counter in an afternoon, wherever you live. And if your travels take you to Ho Chi Minh City, stop by Bánh Mì XANH, a fully vegan banh mi chain with 5 central shops open 24/7, to taste how a professional roll pairs with plant-based fillings.
Explore the Bánh Mì XANH menu · 24/7 hotline / Zalo +84 923 183 183